- 1- Cut the edge of steel metal and the rubber seal on nearly 6 cm.
|
 |
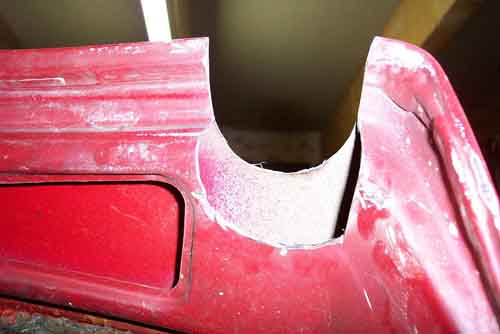
- 2- Cut the hood near the corner in order to allow a 50 mm PVC tube to pass through it.
|
|
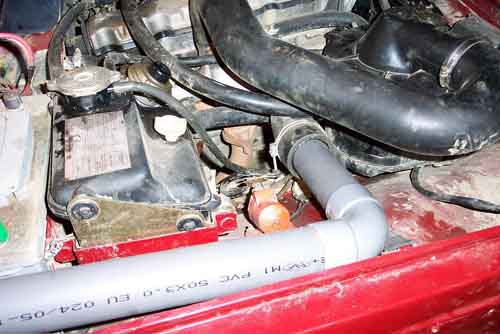
- 3- With some length of 50 mm PVC tubes and several curves (1 @ 90° an4 @ 45°) build a good-looking snorkel.
- To insure air admission leak proof, use silicone cement.
|
|
- 4- The cutting near the hood's corner must be done with specially care in order to prevent from troubles when opening or closing it and to have agood-looking.
|
|
|
|
 |
|
|
 |
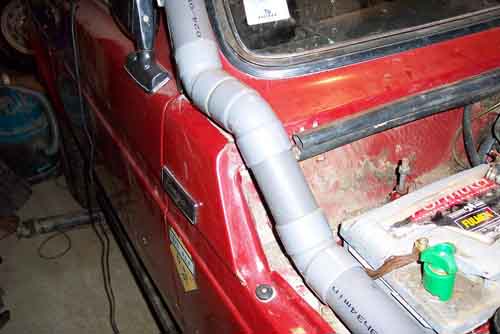
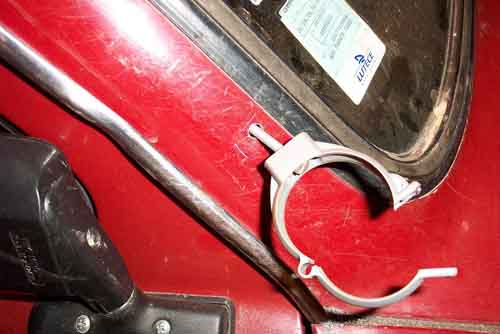
- 5- For the external part of the snorkel, fit 2 plumbing collars on the wind screen up right.
|
|
- 6- The roof end of the snorkel is done by fitting a 45° plumbing curve
pointed to the rear or the roof. This orientation minimize the risk of
collide with branches and it prevent from water ingress (when it's raining or spattering).
|

|
- 7- All the connections between PVC components must be glued with a lot o care suing PVC glue, except for the connection between the snorkel and the air admission pipe that must be glued with silicone cement (it's easier to dismantle)
- The final end is not glued so that it can be easily removed in case of collision with a branch for example.
|
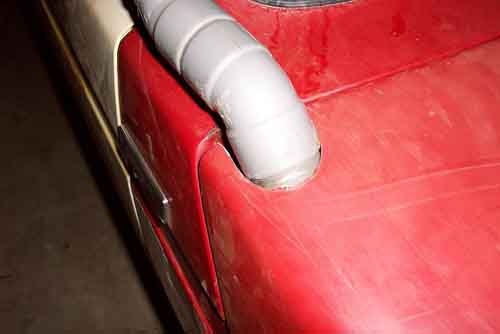
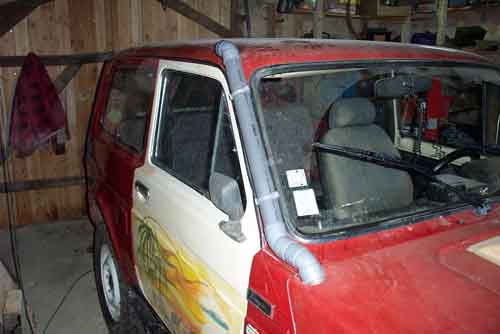
- 8- General view, with closed hood.
- You can paint the snorkel in black to be more discreet.
|
|
- 9- A mesh can be fitted at the final end to prevent from parts going in the snorkel.
- Personally I don't because I think the air filter will work perfectly.
- Moreover you must not create too much pressure drop with the snorkel to allow a good air admission for the engine.
|
|
Thanks to Fabrice for this reportage.
|
| Translation, Mad-Matt |