| Here is how we completely recondition a rear axle (brakes + bearings + rear diff). |
-
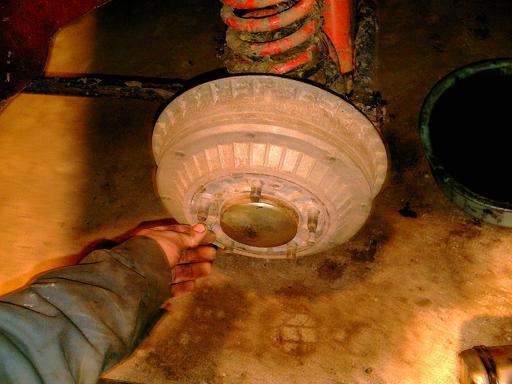
After putting the axle on stands, take off the drum.
- To do this, unscrew the 2 10mm bolts.
|
|
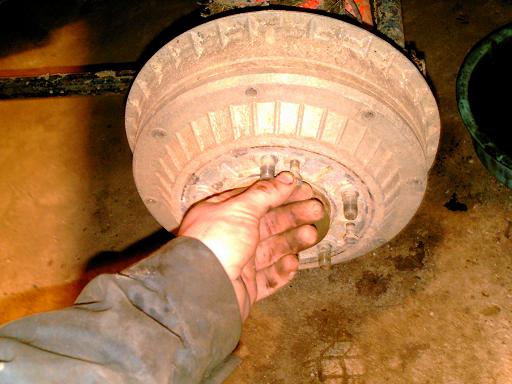
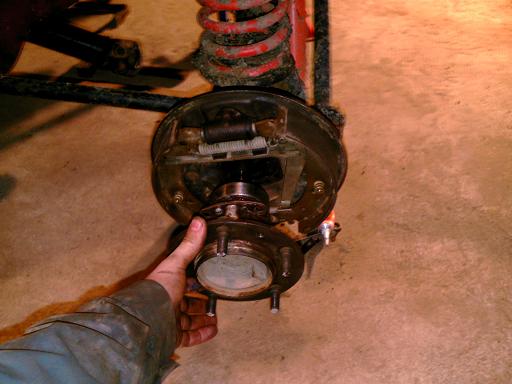
- To remove it, replace the two bolts in the two tapped holes provided for this purpose.
- If it's really rusty, it's best to apply penetrating oil
liberally to the half-shaft (around the chrome cap) and the 5 wheel
retaining bolts and then try again the next day.
|
|
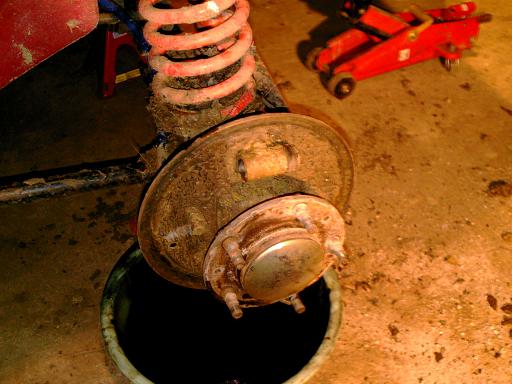
-
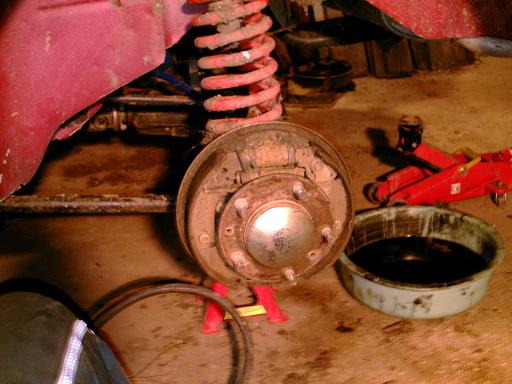
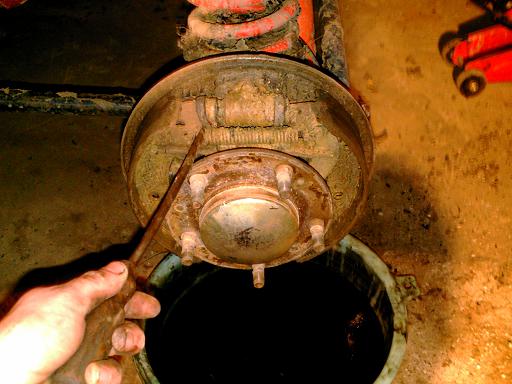
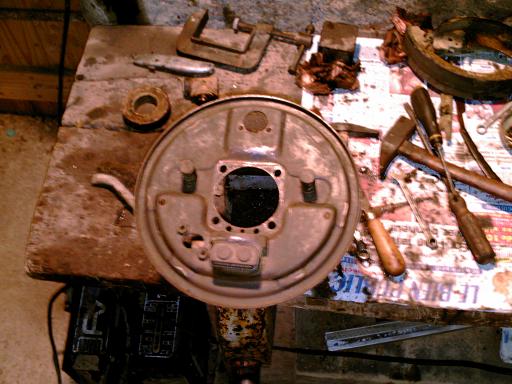
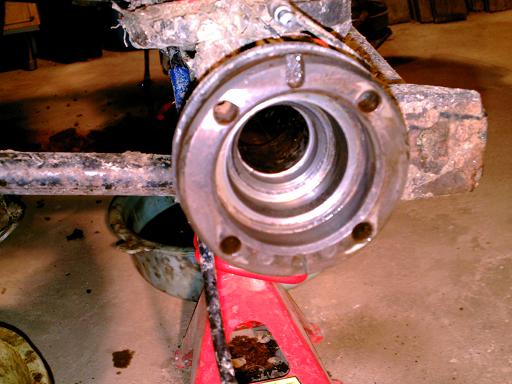
Now, try not to pass out when you see what is revealed!
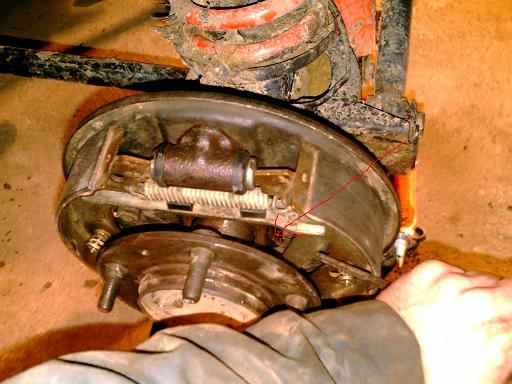
- Here is what can happen when you frequently go in mud and water and never think to remove the drums to clean them...
- Everything is clogged up, rusty...
|
|
- To take the brakes apart, start with the 2 shoe steady springs and cups (push inwards and turn a quarter of a turn).
|

|
- Take off the large shoe return springs.
|
|
-
Here we have it.
- There's just the half shaft to take out.
|
|
- Undo the 4 brake backplate bolts.
- Is it hard?
- If all else fails, you can angle-grind them, they are
'standard' bolts so esily replaced (in any case, I recommend systematic
replacement of all removed bolts by new ones).
- Also think about unscrewing the brake pipe now.
|

|
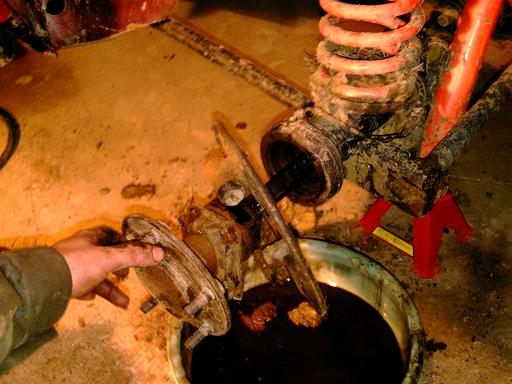
-
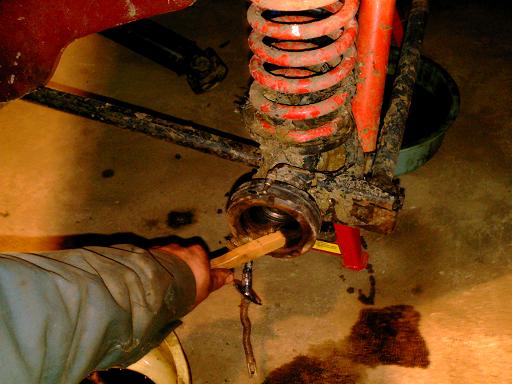
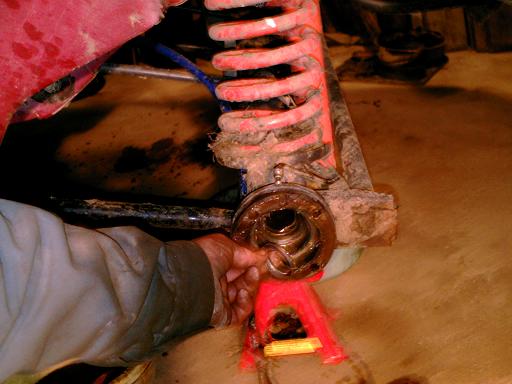
Extracting the half-shaft.
- This is often hard... there is a special tool availabe (a slide hammer).
- It's not worth doing your head in trying to make one -
it's enough to replace the wheel the wrong way round, put just 2 road
nuts on (diametrically opposite) and don't tighten them up (leave at
least 1 cm play).
- Then, by punching the tyre in various places the
axleshaft will free itself (it's the play in the wheel studs that does
the job of the slide hammer).
|
|
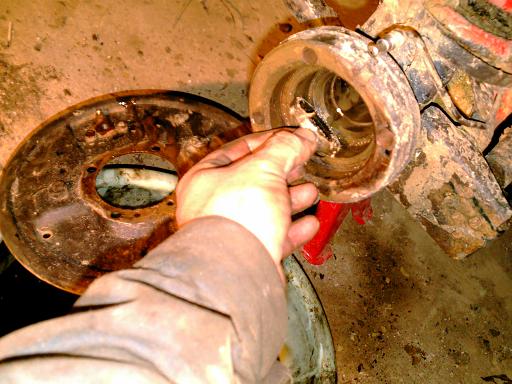
-
Take out the oil seal.
- A large screwdriver should do it, making sure you don't scratch the interior of the axle and ruin its sealing.
|
|
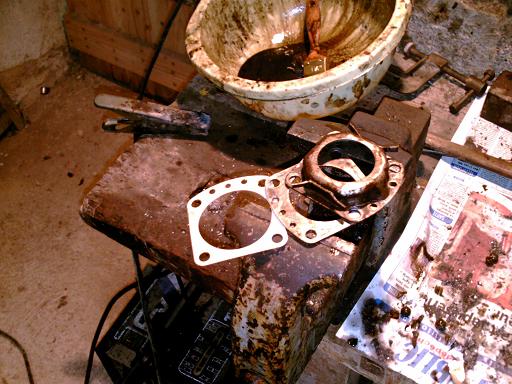
-
Now, cleaning; - start with de-rusting, de-greasing, washing, cleaning off, etc...
the bearing lockplate.
|

|
-
Once clean, with a new paper seal.
|
|
-
Do the same with the brake backplate.
|
|
- Clean the wheel cylinder. Don't hesitate about replacing the seals and bleeding it. If it's too far gone change the whole thing.
|
|
-
Re-fit it on the support.
|

|
-
If they are in a satisfactory state, clean the brake shoes.
|

|
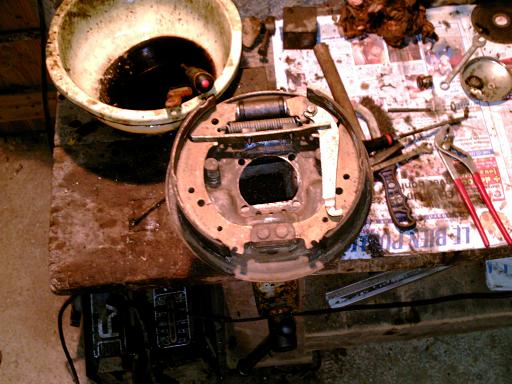
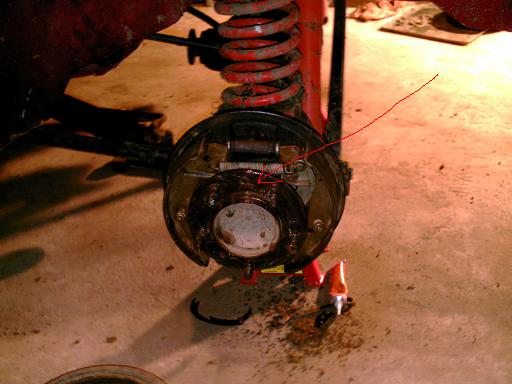
-
Re-fit them (mind your fingers when refitting the large springs!!!). There, it looks better!
|
|
- On the axle, clean the interior with a metal brush (a brass brush! Careful not to scratch it...)
|
|
- Remove dust and grease with petrol.
|
 |
- Wipe it, it should shine all over.
|
 |
- Liberally grease it (there's never too much) and put a new oil seal in.
|
 |
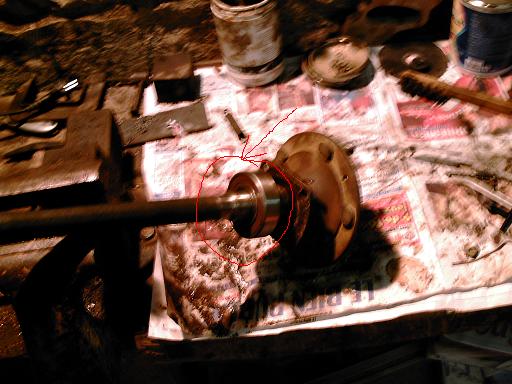
- With the brakes done, on to the half-shafts. After having
removed the old bearing (the locking collar can be cut off with an
angle grinder), you should clean and grease well ready for the new
bearing.
- It goes on almost effortlessly, just tap the central ring with a bronze drift.
|
 |
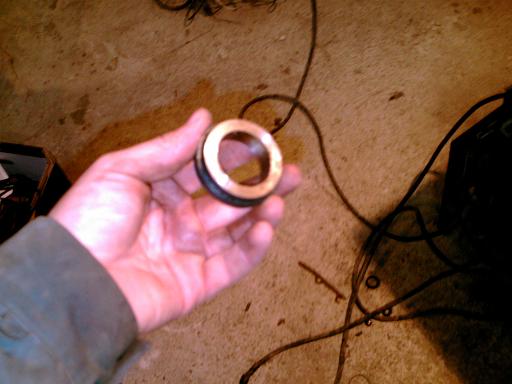
- Here is the new bearing locking collar (race).
- Warning, NEVER refit an old locking collar!!!
- The problem is that it is elastic and heat-mounted, and its bore must be perfect.
|
 |
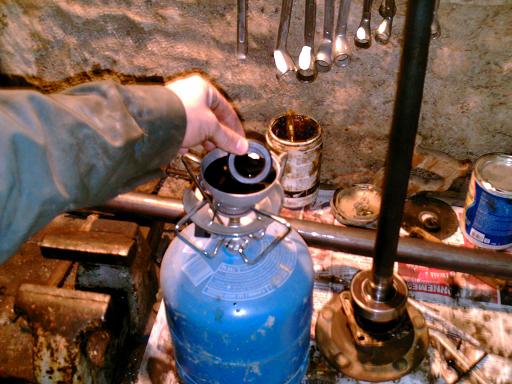
- To fit the new race, the trick is to heat it in oil.
- Personally, I leave it to boil for 10 minutes.
- The film of oil lubricates the fitting and creates a
thermal filter which maintains the temperature of the race for several
seconds.
|
 |
- Using pliers, put the race on the half-shaft AS FAST AS
POSSIBLE (put all the tools next to each other and practice with 'dry
runs').
|
 |
- The race is in position and just needs to be forced down.
|
 |
- Using a tube of the appropriate diameter and a sledgehammer, hit the race home.
- All this must be done within 10 seconds!
- Do the same with the other half-shaft.
|
 |
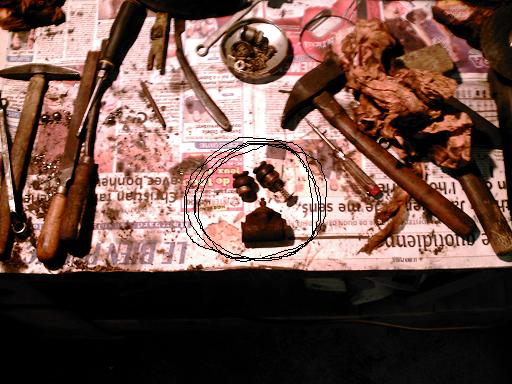
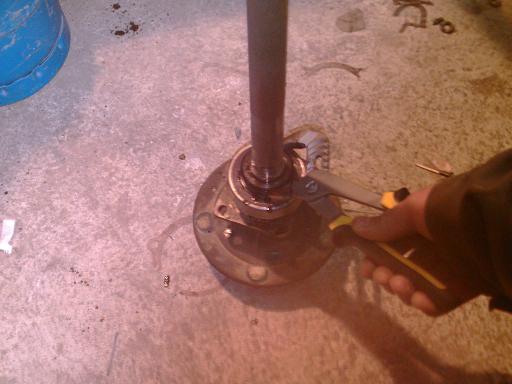
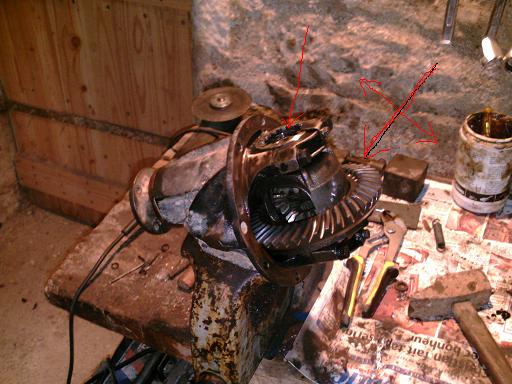
- The rear diff.
- Take it out, and check the various parts : to note, the play in the bearings,
the state of the teeth and the pinions.
- In my opinion, the only thing that can be 'DIY'd is the sideways play in the crownwheel.
- It's allowable to gently tighten the two rings to pinch
the side gears a bit more on an old axle. On the other hand, don't go
any further taking the diff or pinions apart as the adjustments are
hard...
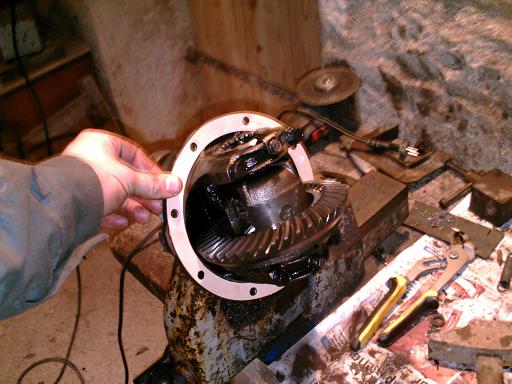
- In my case, there was so much play everywhere that I
chose to change the diff for a secondhand one in good condition (with
no play). Later I will see about renovating the old one.
|
 |
- Clean and de-grease the axle body.
- Clean all the deposits from the inside of the axle and clean the seal placement area.
|
 |
- Once the diff is in condition and well cleaned, fit a new seal.
|
 |
- Fit the diff.
- I recommend putting universal blue sealant on the screws to ensure a good seal on the threads.
|
 |
- The diff replaced, you can re-fit the half-shafts.
- You can put some grease on the grooves to make refitting
easier, but most importantly don't force it when the half-shaft is not
engaged!
- To get it home, you can hit the half-shaft with a rubber mallet.
|
 |
- Fit 4 new bolts, taking care to grease them (remember the taking-apart!) and close the spring pins.
|
 |
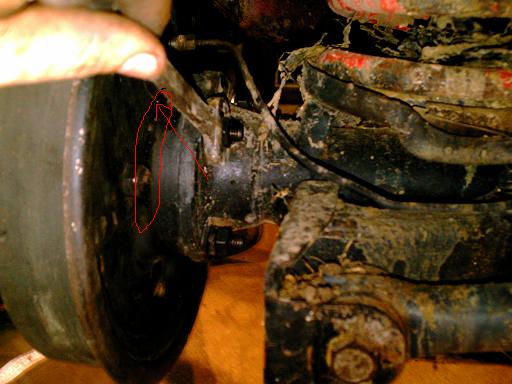
- Tighten everything fully, there should be NO play at all.
- On the photo, you can see the grease squeezing out, that's perfect! This means that the parts will take longer to rust together.
|
 |
- Finally, refit the drum taking care to liberally grease the bottoms of the bolts and the wheel disk.
|
 |
- Do the same on the other side, the oil level in the axle, bleed the brakes and adjust the handbrake.
The job is done!
|
| Thanks to Fabrice for this fine report and many thanks to hoverfrog for this translation. |
