Tools : nothing special (spanner, screwdriver) but a compressor will be needed;
Level : Average
Cost : 15€ the brake caliper renovation kit |
- Start by removing the road wheel, always supporting the car on an axle stand.
- Put a container ready to collect the brake fluid that will leak out.
- Undo the connecting bolts (be carefull not to lose the two copper washers, one on either side of the end of the brake flexi).
- Take off the caliper.
|

|
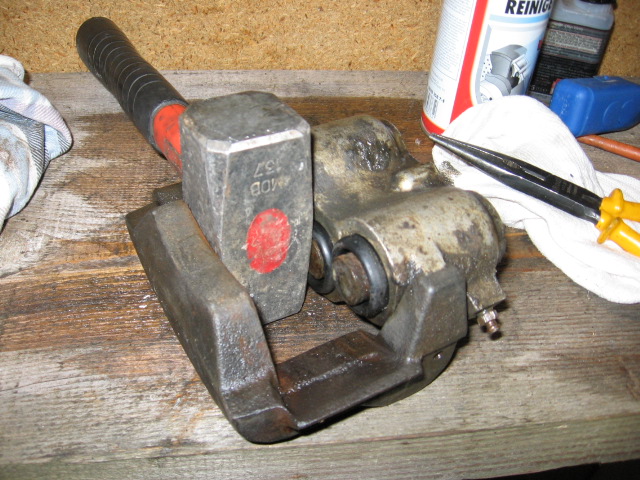
- The caliper once removed.
- Now you can de-grease it.
|

|
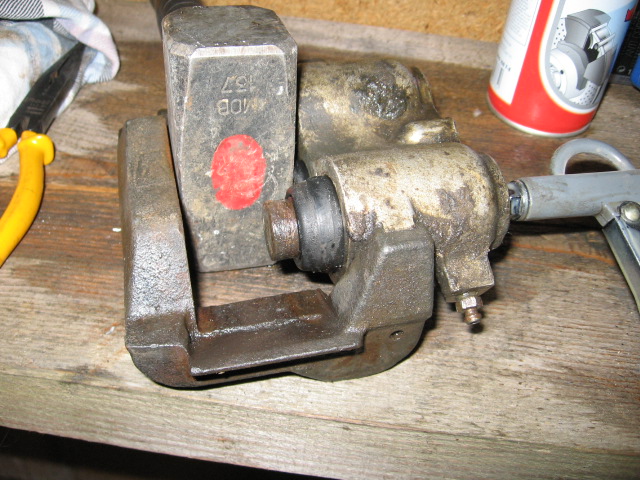
- Block the first two pistons with a hammer.
|
|
- Put the nozzle of the compressor in the flexi-hose hole.
|

|
- Apply compressed air gently so as to slowly push out the piston (especially if you want to re-use the dust-cover).
- Be careful not to leave your fingers between the caliper and the piston!
|
|
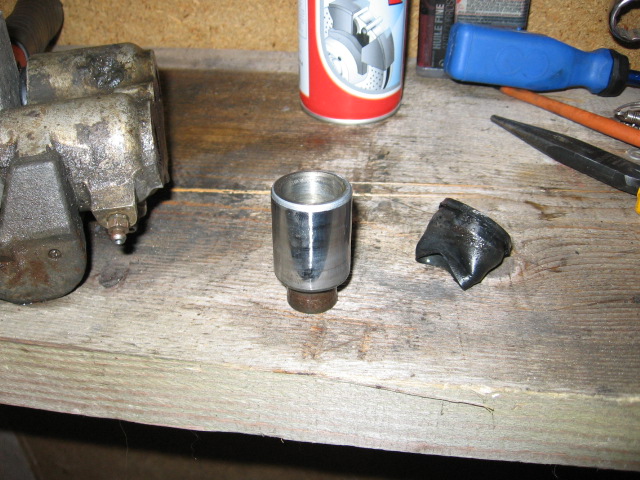
- Here the piston is completely out.
|

|
- Now clean the piston with de-greaser and a clean cloth.
- If there are any rust spots remove them with grade 800 wet and dry paper using brake fluid.
|
|
|
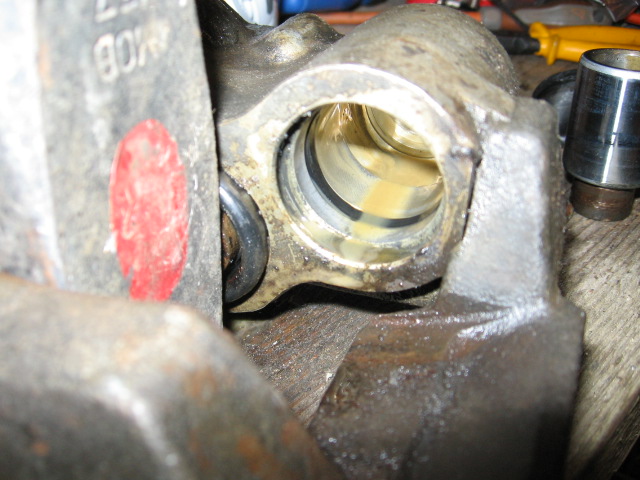
- You can see the inside of the caliper - and the colour of the brake fluid...
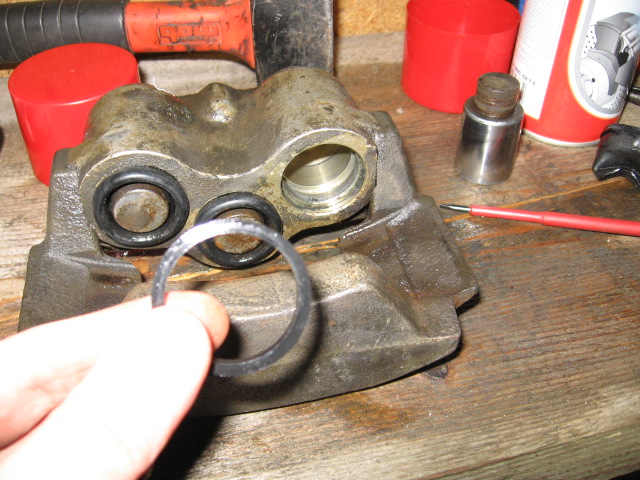
- Take out the old seal with a small screwdriver without scratching the cylinder bore.
- Carefully de-grease the inside.
|
|
|
- Put the new seal in, after having soaked it well in brake fluid.
- Also cover the cylinder bore in brake fluid.
- Put the piston back by pushing it firmly but don't ever force it
- If the piston is slightly skewed, don't force it - take it out and start again.
|
|
|
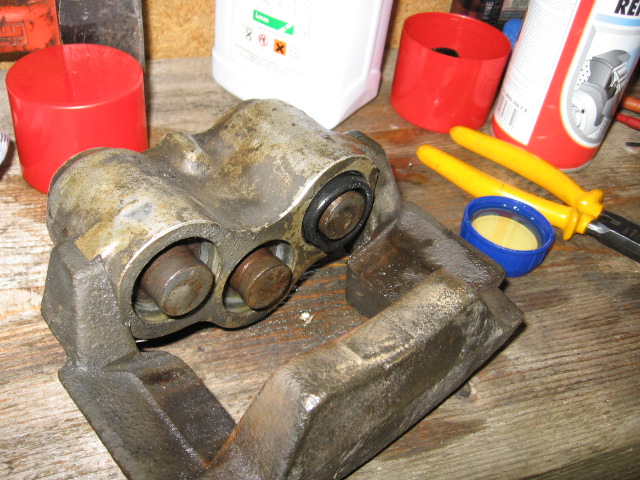
- Replace the dust-cover.
- Do the two other pistons the same way.
|
|
|
|
|
|
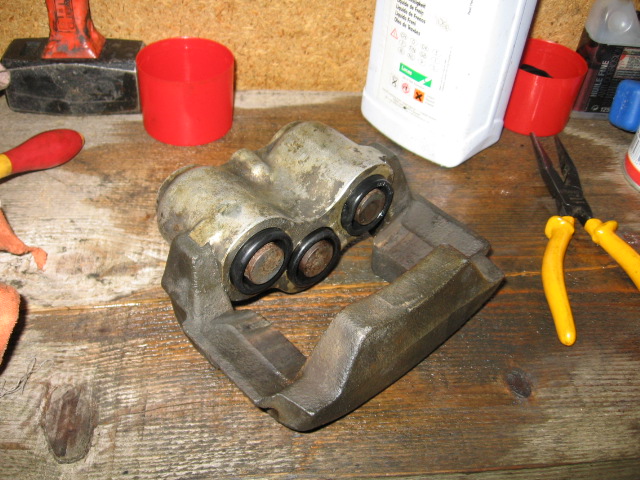
- Replace the brake shoes, the caliper, then the flexi connectors.
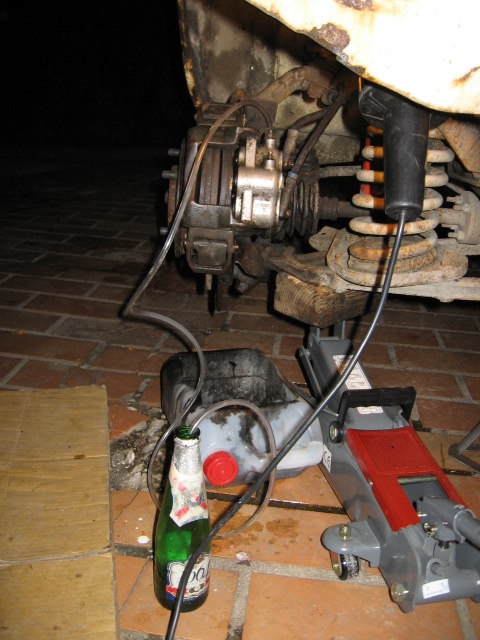
- All that remains is to bleed the brakes (which is usually a 2-person job).
|
|
|
Thanks to Julien77 for this magnificent report, and many thanks to hoverfrog for this translation.
|
