|
To renovate CV joints,
follow Fabrice's advice
|
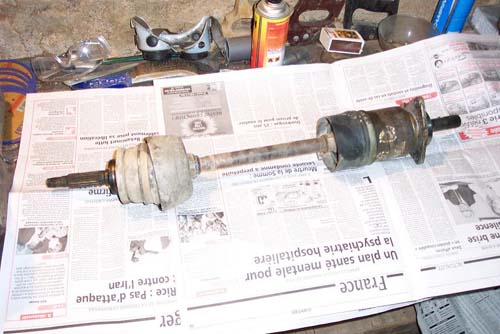
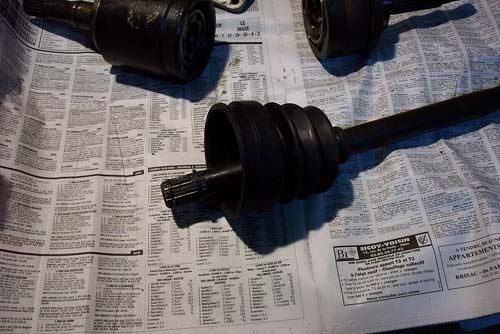
- The driveshaft removed from the car.
|
|
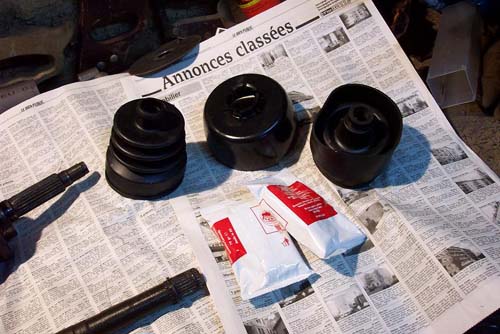
- The two new boots, the new outer joint shield and two tubes of special CV grease.
|
|
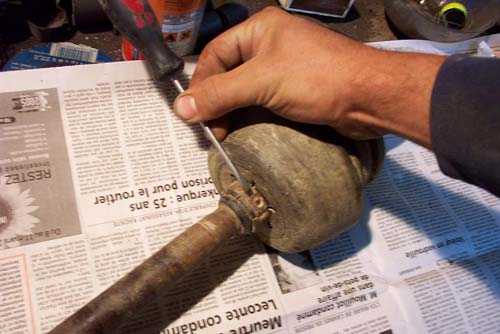
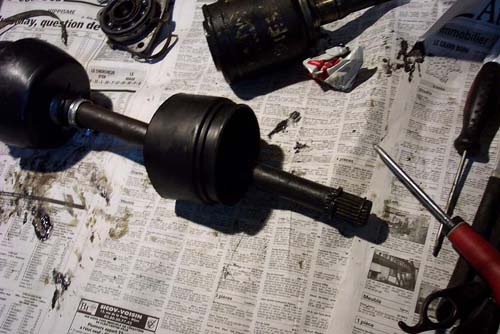
- 1- Take off the ties/clamps (carefully if you haven't any new ones !!!)
|
|
- 2- Pull the old boot back towards the interior.
- If it doesn't want to know, then use a screwdiver or cutters on it.
|
|
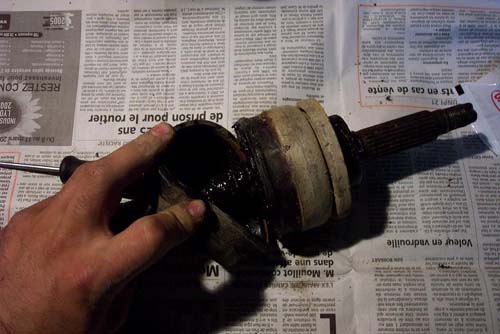
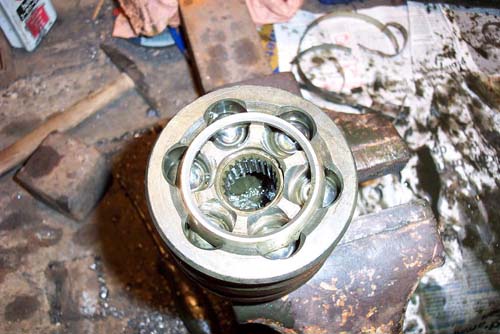
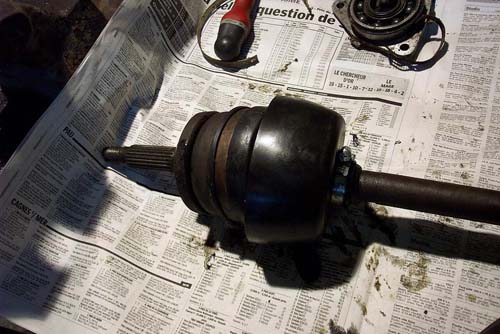
- 3- Take out the cage - very carefully !
- You must only strike against the balls' interior cage.
- Be careful not to touch the balls or the cage.
- Clamping the shaft in a vice makes it easy.
|

|
- 4- Cleaning and disassembly of the cage (personally I use petrol, but that's dangerous...)
|
|
-
5- Do the same on the other side.
|
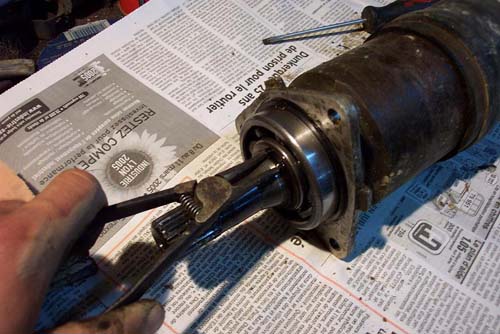
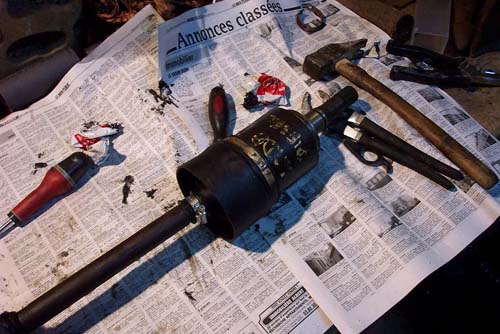
- 6- Disassembly of the bearing for cleaning and checking.
- Using pliers, take out the circlip.
|
|
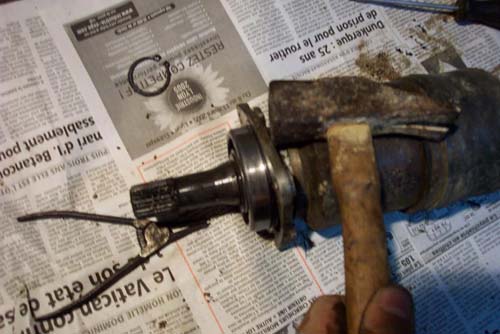
- 7- Remove the bearing by changing the strike point each time (a third of a turn)
|
|
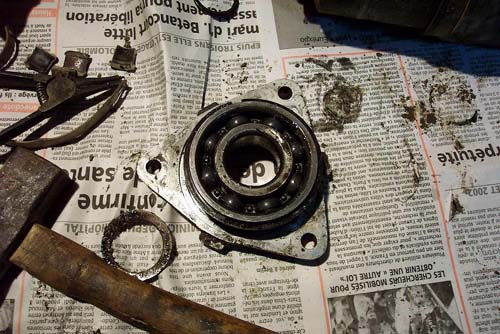
- 8- Clean and check the bearing.
|
|
- 9- Re-assembly of the cage and boot. Start by putting the boot on the shaft.
|
|
- It's quite difficult, but we get there in the end
(the relative elasticity of the boot...).
|
|
- 10- Put roughly half the tube of grease into the cage.
|

|
- 11- Put the cage back in place and put the other half of the grease in the boot.
- Just the weight of the shaft on the workbench is enough to put it back.
|

|
- 12- Close up by tightening the ties/clamps well.
|

|
- 13- Same for the joint shield and the second boot.
|
|
|
|

|
|
|
|
|
Thanks to Fabrice for this superbe and complete report, and thanks to hoverfrog for this translation.
|
